Bundles in CPQ:
- Bundle configuration refers to the process of creating customized product bundles or packages for customers.
- It allows businesses to offer a combination of products or services that go well together and meet the customer's needs.
- Bundles also allow us to facilitate special pricing
Steps to Create a Bundle Product:
Use Case: You want to set up a PVR combo product in Salesforce. In PVR comb you need to bundle the following products together -
Meal: Single Patty burger, Double Patty Burger
Beverages: Small Cold Drink, Large Cold Drink
Addons: Chocolate cake, Fries
Let's create that bundled product -
- In the use case the first step is to count the number of products we need to add to salesforce. In the above Use case we need to create 2 Meal products ( Single Patty Burger and Double Patty Burger), 2 Beverage Products ( Small and Large Code Drink), and 2 Addons Products - Chocolate cake and Fries.
- We also need to create a parent product for bundling that is - PVR Combo. So we need to create total 2 + 2 + 2 + 1 = 7 products.
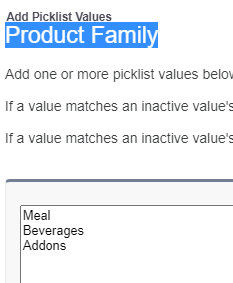
- In the use case, we have 3 categories - Meal, Beverages, and Addons. To configure that we need to add these to the Product Family field in the product object. Go to object manager search for product object and in Product Family add all 3 fields
- Navigate to the Product tab and click on the New button And give the name - Single Patty Burger. Click on the Active checkbox, and Give a product code -PVRC-SinglePatty. Click on Save. Add a record in the Price book entry as well.
- Similarly, create other products for Meal, Beverages, and Addons.
- Now let's create Parent Product, Product name - PVR Combo, Product Code - PVRCombo
- In Configuration Type - Allowed, Configuration Event - Add
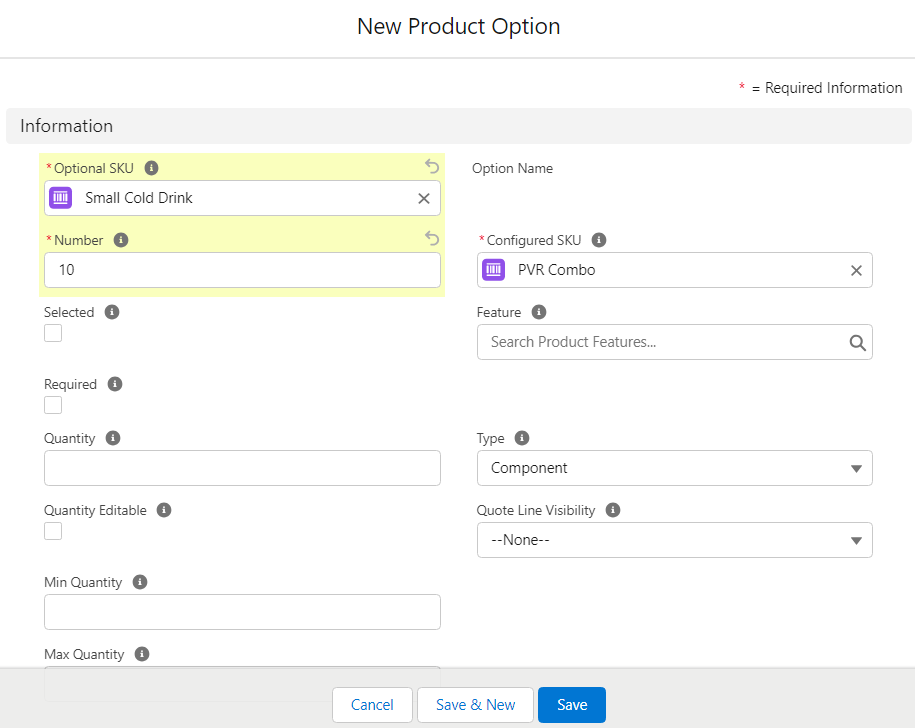
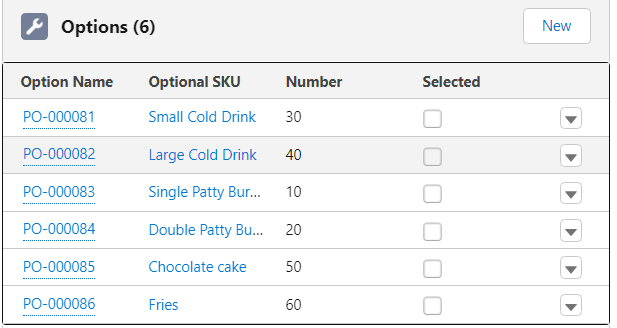
- Now we need to tag all the child products to parent. To do that we have to related record in the Option tab
- Now go to the quote tab create a new quote / edit any quote and click on Edit Lines
- Now Sales reps can select the appropriate product and save it to the quote lines.
How to add custom tabs in QLE/ What is Option Layout:
Use Case: For sales reps if there are so many products in a bundle then it's hard to search for the specific product. Based on features Let's divide the QLE screen into Tabs or Sections or Wizard.
Steps:
- As shown in the above screenshot, Sales reps can select the product the user wants from the list. But what if there are many records in a combo product?
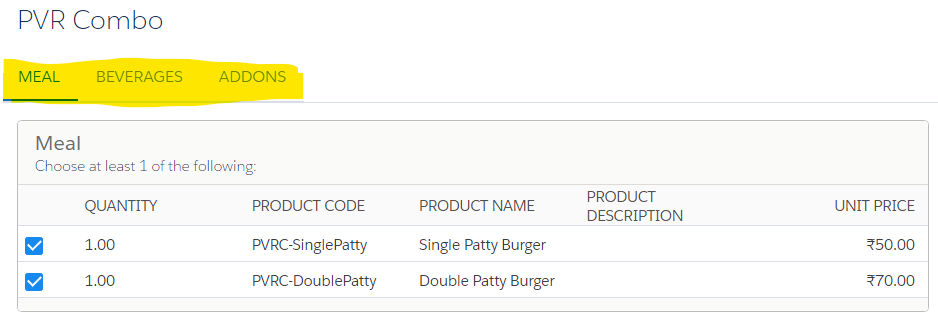
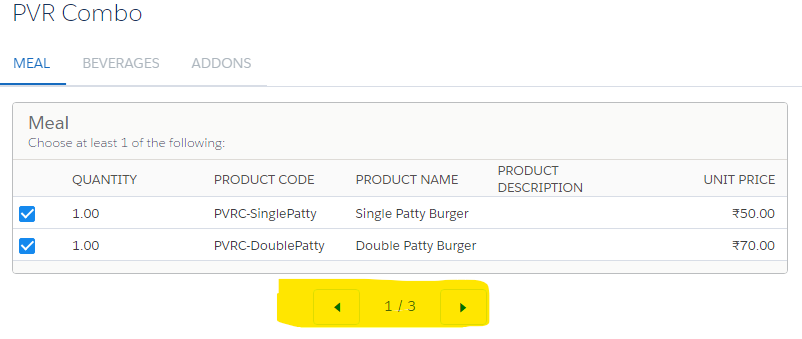
- To manage the QLE UI, CPQ provides us an option to split the screen based on parent product features. (In the above step 8 we have created 3 features. We are going to use them as Tab / Sections / Wizard)
- Go to Parent Product ( PVR Combo) and click on the edit button
- Under the Salesforce CPQ configuration section set Configuration Type as Required, Configuration Event as Always, Option Type as Tabs, and Option Selection Method as Click
- Go to any quote or create a quote and click on Edit Lines. Click on Add Product Button
- Search for PVR Combo product and select the product
- Apart from tabs we have 2 (Section and Wizard) more options. Go to the parent product and change the Option Type to Section.
Now let's save the record. You will notice the Net Total is the sum of all selected child records. But the parent product PVR Combo already has a price of 200. Let's check how to only use show Product bundle prices.
Use Case: Configure the bundle in such a way that the total net price should not count the sum of child products. It should only show the Parent Product's total.
Steps:
- Go to the Product tab and select PVR Combo. Click on the related tab
- Under the Options section click on View All button
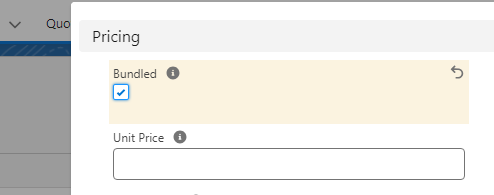
- Now we need to edit all 6 options and check the Bundled check box. Save the changes
- Follow this with all other options as well.
- Now go to the quote and click on the Line Items button and add the PVR Combo product
- Select the Product and save the record. Now you will notice it will only show the Parent Product Amount in the Quote Total-

