Twin Fields in CPQ:
- Twin Fields in Salesforce CPQ refer to a feature that allows you to link two fields together, ensuring that they always have the same value. It's like having a "twin" field that mirrors the value of another field.
- Let's say you have two fields: Field A and Field B. By setting up a twin field relationship between them, whenever you insert the value of Field A, Field B will automatically update to match that value. Similarly, if you insert the value of Field B, Field A will also update accordingly.
- For example, if you have a quote form where you enter the quantity and price of a product, you can set up a twin-field relationship between the "Quantity" field and the "Total Price" field. Whenever you update the quantity, the total price will be automatically recalculated based on the set price per unit.
Some considerations of twin fields:
- The values will pass if the custom fields have exactly matching field types and API name
- Minimum Access: Read access on the source field and edit access on the target field.
- Standard fields cannot be mapped
- Twin fields are only populated on record creations
- Making a bundle favorite and then adding that favorite to the quote line editor will not capture twin field values.
- Twin fields only map between certain objects
- Click here to view the list of supported objects in the twin field
Steps to setup twin fields:
We will create a picklist field 'Warranty Status' with two values 'Under Warranty' and 'Out of Warranty' in the Product object and the same API name and type field we will create in the quote line as well.
- Go to Setup and then Object Manager. Click on the Product record
- Now Click on Fields and Relationships and click on New. Give name - Warranty Status, API should be Warranty_Status__c
- Select picklist as field type and add two values - 'Under Warranty' and 'Out of Warranty'
- Save the field. Do similar and add that field in the Quote line record as well
- Now go to the Product tab and select any product. I have selected - "10" Tablet" and edit it and set Warranty Status to Out of Warranty
- Now go to the quote and add that product by clicking on Edit Lines and clicking on Save
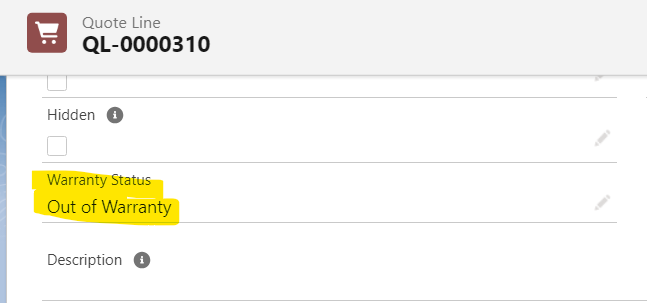
- Now you will notice the same value will show on the Quote line as well.
Bundle Attributes:
- Bundle Attributes in Salesforce CPQ refer to the configurable options or characteristics associated with a product bundle.
- With bundle attributes, you can specify different attributes for each product in the bundle and define their characteristics.
- We have already discussed CPQ Bundles. To view the article click here.
Type of Bundle Attributes:
There are three types of attributes-
- Configuration Attribute
- In-Line Attribute
- Global Attribute
1. Configuration Attribute:
Configuration attributes are used to define options and characteristics of individual products within a bundle. These attributes allow users to customize specific features or properties of a product based on their requirements. Configuration attributes are associated with individual line items in the quote.
Steps to Create Configuration Attribute:
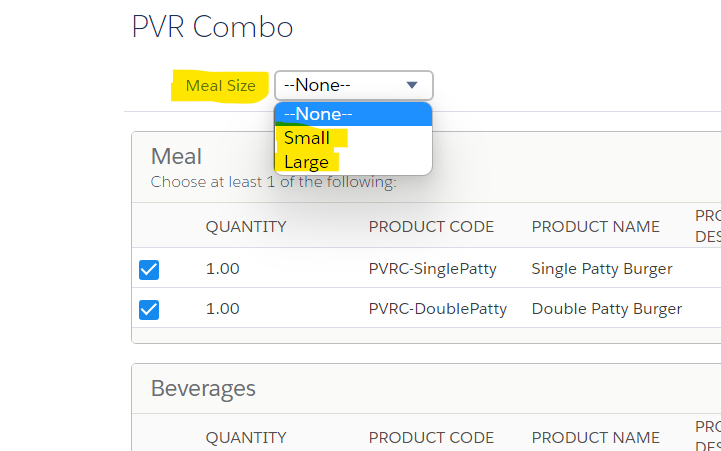
Use Case: In the PVR Combo bundle that we created in the previous article. Provide an option for sales reps to view a picklist dropdown with two values - small or large products in the QLE bundle.
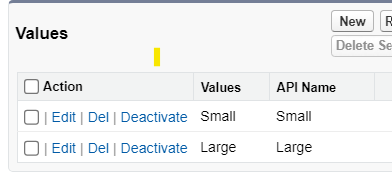
- The first step is we need to create twin fields in Product Options and Quote Line Object. In our use case, it is Meal Size (Meal_Size__c) - Small and Large
- Now go to object manager and search for 'Configuration Attribute' and click on Fields and Relationships and search for Target Field. And add the API name of the twin field that we have created in step 1 which is Meal_Size__c. Save the changes.
- Now go to the parent bundle product - PVR Combo and click on the related tab.
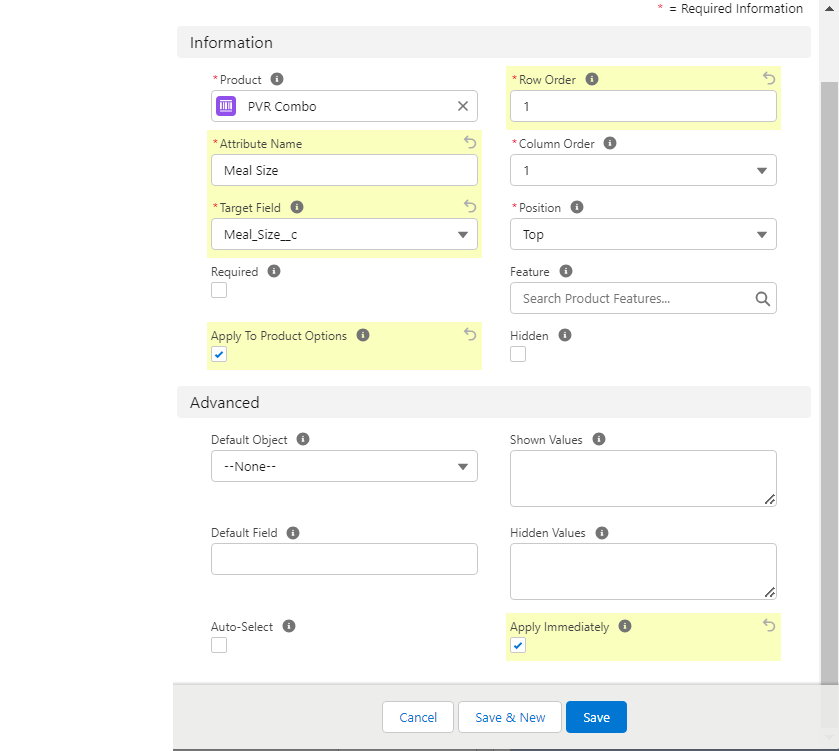
- Click on the New button next to Configuration Attribute and provide the following values given in the screenshot-
- Now go to any quote and add the PVR Combo product. You will see a Picklist is visible on QLE-
2. In-Line Attributes:
Unlike Configuration Attributes where the variable update the same value in all quote lines, In-Line Attributes are used to store the values on specific quote lines. Let's understand that by a use case-
Use Case: In the Meal feature, give an option for sales reps to select Veg and Non-Veg burgers. The QLE should look like -
- Similar to configuration attributes, first we need to create twin fields (Type of Meal) in the Product option and Quote line object
- Now we need to create a Field set on the Product option and assign that to Meal Record. This is needed because as per the Use case, we only need to add the Type of Product attribute to Meal Product Option. Let's see how can that be done -
- Go to Object Manager and select Product Option. Then go to the Field Sets tab
- Click on New button and Give the name as MealType and add the following fields -
- Now we need to assign that filed set API name to the Meal Product Option Record. To do that we need to first add MealType value in the Configuration Field Set picklist field. Steps - Go to Object Manager and then select Product Options. Click on Fields and Relationships and search for Configuration Field Set picklist edit and add MealType as picklist
- Now edit Meal Record and assign MealType in Configuration Field Set picklist field save changes
- Now go to any Quote click on Edit Lines and add PVR Combo Product.
- Now you will notice Meal Type is visible and you can select Quote line-specific values-
- Save the changes and check the created Quote Lines. For each quote line Type of Meal is different.
3. Global Attributes:
Global Attribute is a type of In-Line attribute only but its scope does not depend on any product or product bundle.
The in-Line attribute Meal Type that we have created can only be used in PVR Combo Bundle Product. If you have any other bundle where you have added burgers then you cannot reuse your In-Line Attribute.
To re-use attributes for many products Global Attributes are introduced. Let's understand Global Attributes by a Use Case.
Use Case: Create an attribute - Flavor it should have 3 options -Salted, Caramel, and Cheesy. Assign that attribute to multiple product bundles.
Steps to Configure Global Attributes:
- The first step is to create Twin Field Flavor in the Product Option and Quote Line
- Now we need to create Global Attribute
- Go to App Launcher and search for Configuration Attribute Click on New and select Global Attribute
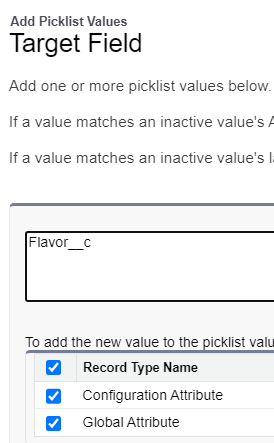
- Now before we create a record we need to add value Flavor in the Target Field picklist. To do that we need to go to the object manager and select the Configuration attribute and add Flavor__c in Target Field
- Back to Step 1 and add a record to Configuration Attribute Name: Flavor and Flavor__c in Configuration Attribute
- Now we need to create Attribute Set
- Go to App Launcher and search for Attribute Sets. Click on the New button
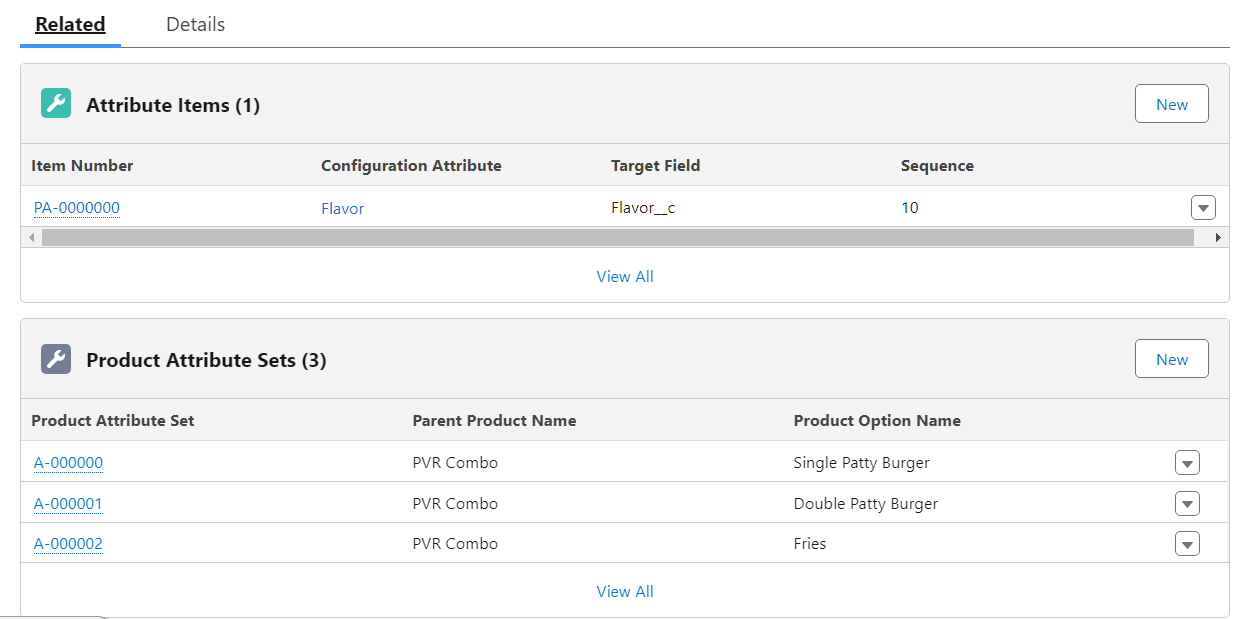
- Now click on the Related tab and add the Attribute set and Attribute Item as given in the screenshot. Product Options are not searchable by their name. You need to copy past the auto-generated number Starting with PO. You can find that in the bundle product.
- Now we need to enable the Product Option Drawer. For that go to the installed package and click on configure. Go to Additional Settings and check Enable Product Option Drawer checkbox.
- Go to any quote and add PVR Combo. You will see a drop-down icon will be visible. This is called Global Attribute-

